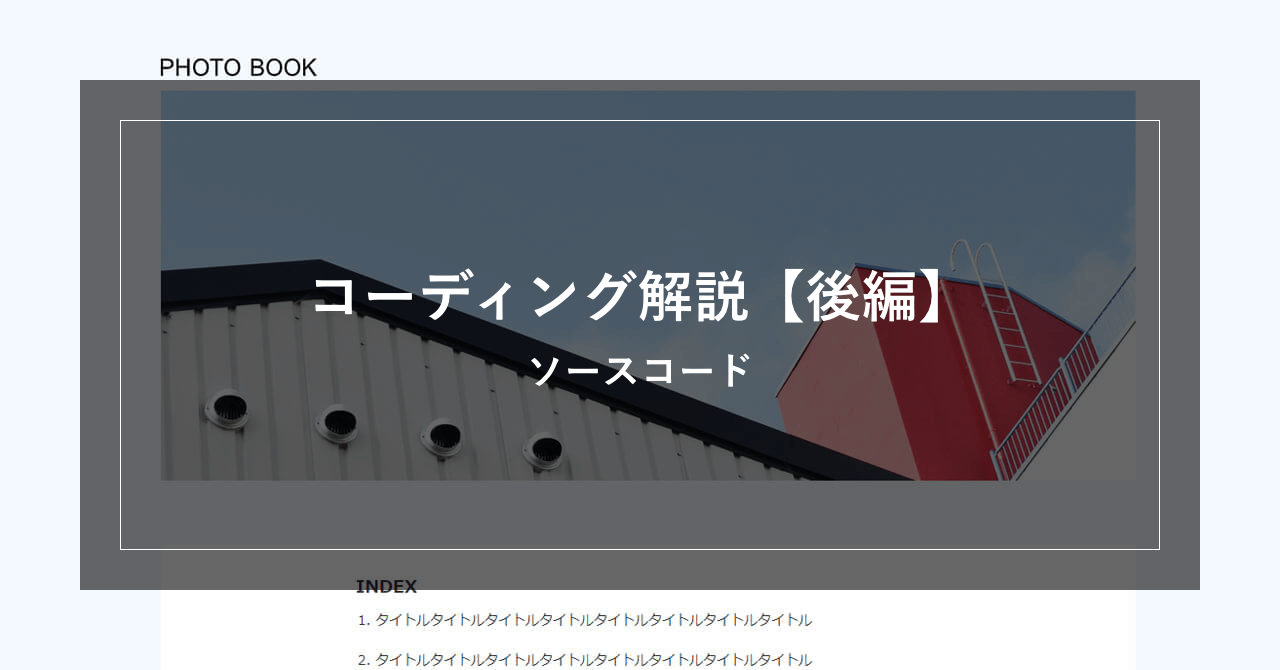
【HTML/CSS コーディング解説】入門:フォトサイト(後編)
目次
それでは、さっそくコーディングをしていきましょう。
まずは、コーディングするための準備として、作業用のディレクトリとファイルを用意します。
1. ディレクトリを用意しよう
今回作るサイトのディレクト構成は下記の通りです。
photo
 │
 ├─css
 │  └─ style.css
 │
 ├─img
 │  ├─favicon.ico
 │  ├─logo.svg
 │  ├─detail.jpg
 │  └─mainvisual.jpg
 │
 └─ index.html
photoという名前のフォルダの中に、index.html、cssフォルダ、imgフォルダを作ります。
画像については、下記から練習用の画像をダウンロードできます。
準備ができたら、コーディングに入っていきましょう!
2. コーディングをしよう
それでは、さっそくコーディングに入っていきしょう。
コーディングは下記の手順ですすめていきます。
-
全体のコーディング
- HTMLをコーディング
- CSSをコーディング
-
各パーツのコーディング(header、メインビジュアル、Index、Detail、footer)
- HTMLをコーディング
- CSSをコーディング(レスポンシブも調整)
①:全体のコーディング
まずは全体のコーディングです。
全体の枠組みとhead部分のコーディングを行なっていきます。
HTML
      index.html

  <!DOCTYPE html>
  <html lang="ja">
    <head>
      <meta charset="utf-8">
      <title>PHOTO BOOK</title>
      <meta name="description" content="テキストテキストテキストテキストテキストテキストテキストテキスト">
      <meta name="viewport" content="width=device-width, initial-scale=1">
      <link rel="icon" href="img/favicon.ico">
      <link rel="stylesheet" href="https://unpkg.com/ress/dist/ress.min.css">
      <link rel="stylesheet" href="css/style.css">
    </head>

    <body>
      <div class="container">
        <header id="header">
        </header>

        <main>
          <div id="mainvisual">
          </div>

          <section id="index">
          </section>

          <section id="detail">
          </section>
        </main>

        <footer id="footer">
        </footer>
      </div>
    </body>
  </html>
- metaタグ
- title、descriptionは基本必須で設定します。
- リセットCSS
- 本サイトでは、「ress.min.css」を使用しています。
リセットCSSは色々なものがあるので、自分が使いやすいものを選んだり、案件によって使い分けたりしてください。 - containerクラス
- コンテンツ全体の最大幅を設定して中央に配置するためのクラスです。
※containerというクラス名は任意ですが、一般的に「container」や「wrapper」などのクラス名がよく使われます。
CSS
      style.css

  @charset "UTF-8";

  html {
    font-size: 100%;
  }
  body {
    background-color: #f4f9ff;
    color: #333;
    font-size: 0.875rem;
  }
  img {
    max-width: 100%;
  }
  .container {
    max-width: 1000px;
    margin: 0 auto;
  }
  .inner {
    max-width: 600px;
    margin: 0 auto;
  }
  .section-title {
    font-size: 1.125rem;
    font-weight: bold;
    margin-bottom: 10px;
  }

  /*-------------------------------------------
  SP
  -------------------------------------------*/
  @media screen and (max-width: 1024px) {
    .inner {
      padding: 0 40px;
    }
  }
- .container
- サイト全体のコンテンツ幅を設定して、「margin: 0 auto」で中央に配置します。
- .inner
- 中のコンテンツ部分の最大幅を設定するためのクラスです。同じくコンテンツ幅を設定して、「margin: 0 auto」で中央に配置します。
- .section-title
- 各セクションの見出し用のクラスです。各セクションの見出しは同じデザインなので、このクラスを共通で使用します。
- @media screen and (max-width: 1024px)
- ブレイクポイントを設定します。コーディング仕様に従い、PCとスマホのレイアウトを1024pxで切り替えます。(1024px以下がスマホで1025px以上がPCになります。)
全体のコーディングができたら、次は各パーツのコーディングにはいっていきましょう!
②:ヘッダーのコーディング
ヘッダーをコーディングしていきます。
HTML
      index.html

  <header id="header">
    <h1 class="site-title">
      <a href="index.html"><img src="img/logo.svg" alt="PHOTO BOOK"></a>
    </h1>
  </header>
- headerタグ
- ヘッダー全体をheaderタグで囲みます。
- ロゴ
- ロゴ全体をh1タグで囲みます。さらにロゴ画像をaタグで囲み、トップページへのリンクを張ります。
CSS
      style.css

  /*-------------------------------------------
  ヘッダー
  -------------------------------------------*/
  #header {
    margin-top: 60px;
  }
  #header .site-title {
    width: 160px;
    line-height: 1px;
    margin-bottom: 15px;
  }
  #header .site-title a {
    display: block;
  }

  @media screen and (max-width: 1024px) {
    #header {
      padding: 0 10px;
    }
  }
- #header
- 「margin-top: 60px;」でヘッダー上部に余白をとります。スマホの場合は、「padding: 0 10px;」で両サイドの余白を設定します。
- #header .site-title
- h1タグ用のクラスです。line-heightにh1タグがもともと持つ高さよりも小さい値「1px」を指定することで、h1タグの上下の余白を消してロゴ画像の高さと揃うようにします。
- #header .site-title a
「display: block;」を設定して、aタグのリンク範囲を親要素のサイズいっぱいに広げます。
※displayプロパティの詳細については、「【CSS】displayプロパティの使い方について」で詳しく解説しています。
ヘッダーのコーディングは以上になります。
③:メインビジュアルのコーディング
メインビジュアルをコーディングしていきます。
HTML
      index.html

  <div id="mainvisual">
    <img src="img/mainvisual.jpg" alt="テキストテキストテキスト">
  </div>
メインビジュアルは、画像をdivタグで囲むだけです。
CSS
      style.css

  /*-------------------------------------------
  Mainvisual
  -------------------------------------------*/
  #mainvisual {
    margin-bottom: 60px;
  }

  @media screen and (max-width: 1024px) {
    /*-------------------------------------------
    Mainvisual
    -------------------------------------------*/
    #mainvisual {
      padding: 0 10px;
    }
  }
- #mainvisual
- 「margin-bottom: 60px;」でメインビジュアルの下に余白を設定します。スマホの場合は「padding: 0 10px;」で両サイドの余白を設定します。
メインビジュアルは以上になります。
④:Indexのコーディング
Indexをコーディングしていきます。
HTML
      index.html

  <section id="index">
    <div class="inner">
      <h2 class="section-title">INDEX</h2>
      <ol class="index-list">
        <li>タイトルタイトルタイトルタイトルタイトルタイトルタイトルタイトル</li>
        <li>タイトルタイトルタイトルタイトルタイトルタイトルタイトルタイトル</li>
        <li>タイトルタイトルタイトルタイトルタイトルタイトルタイトルタイトル</li>
        <li>タイトルタイトルタイトルタイトルタイトルタイトルタイトルタイトル</li>
        <li>タイトルタイトルタイトルタイトルタイトルタイトルタイトルタイトル</li>
      </ol>
    </div>
  </section>
- sectionタグ
- 全体をsectionタグで囲みます。
- inner
- コンテンツ部分をdivタグで囲み、中央に配置します。
- タイトル
- h2タグで囲みます。
- 目次
- 順序性のあるリストのため、ol、liタグで記述します。
CSS
      style.css

  /*-------------------------------------------
  Index
  -------------------------------------------*/
  #index {
    background-color: #fff;
    padding: 30px 0;
    margin-bottom: 60px;
  }
  #index .index-list {
    margin-left: 20px;
  }
  #index .index-list li {
    margin-bottom: 20px;
  }
  #index .index-list li:last-child {
    margin-bottom: 0;
  }
- #index .index-list
- olタグはリストの先頭に番号がつくので、その分だけ「margin-left: 20px;」を設定して左に余白をとります。
- #index .index-list li:last-child
- 目次の最後の行だけ「margin-bottom: 0;」でテキストの下に余白が入らないようにします。
Indexセクションのコーディングは以上になります。
⑤:Detailのコーディング
Detailをコーディングしていきます。
HTML
      index.html

  <section id="detail">
    <div class="inner">
      <h2 class="section-title">DETAIL</h2>
      <div class="content">
        <img class="img" src="img/detail.jpg" alt="">
        <div class="text">
          <p class="title">タイトルタイトルタイトル</p>
          <dl>
            <dt>著者</dt>
            <dd>タイトルタイトルタイトル</dd>
            <dt>出版社</dt>
            <dd>タイトルタイトルタイトル</dd>
            <dt>発行年</dt>
            <dd>タイトルタイトルタイトル</dd>
          </dl>
          <p>
            テキストテキストテキストテキストテキストテキスト
            テキストテキストテキストテキストテキストテキスト
          </p>
          <a class="link" href="#" target="_blank" rel="noopener noreferrer">オンラインストアで見る</a>
        </div>
      </div>
    </div>
  </section>
- sectionタグ
- 全体をsectionタグで囲みます。
- inner
- コンテンツ部分をdivタグで囲み、中央に配置します。
- タイトル
- h2タグで囲みます。
- 書籍情報
- 項目と内容が対になっているので、dl、dt、ddタグを使って記述します。
CSS
      style.css

  /*-------------------------------------------
  Detail
  -------------------------------------------*/
  #detail {
    margin-bottom: 100px;
  }
  #detail .content {
    display: flex;
    align-items: flex-start;
  }
  #detail .content .title {
    font-size: 1.125rem;
    font-weight: bold;
  }
  #detail .content .img {
    width: 270px;
    margin-right: 60px;
  }
  #detail .content .text p {
    margin-bottom: 20px;
  }
  #detail .content dl {
    display: flex;
    flex-wrap: wrap;
    padding: 16px 0;
    margin-bottom: 25px;
    border-top: solid 1px #dedede;
    border-bottom: solid 1px #dedede;
  }
  #detail .content dt {
    width: 25%;
  }
  #detail .content dd {
    width: 75%;
  }
  #detail .content .link {
    color: #333;
  }
  #detail .content .link:hover {
    opacity: 0.8;
  }

  @media screen and (max-width: 1024px) {
    /*-------------------------------------------
    Detail
    -------------------------------------------*/
    #detail .content {
      flex-direction: column;
    }
    #detail .content .img {
      width: 100%;
      margin: 0 0 25px 0;
    }
  }
- #detail .content
「display: flex;」で画像とテキストを横並びに配置します。スマホの場合は、「flex-direction: column;」を設定して縦並びにします。
※フレックスボックスの詳細については、「【CSS】Flexbox(フレックスボックス)の使い方について」で詳しく解説しています。
- #detail .content .img
画像はwidthで横幅を設定して広がりすぎないようにします。スマホの場合は、「width: 100%;」を設定して横幅いっぱいまで広がるようにします。
※画像はタグで囲んで使われることがよくあります。画像を囲むタグの種類と使い分けについては、「画像を囲むタグの種類と使い分けについて」で詳しく解説しています。
- #detail .content dl
- 書籍情報はdlタグに「display: flex;」を設定して、dtタグとddタグを横並びに配置します。また、「flex-wrap: wrap;」を設定して、dtタグとddタグが100%になったら横並びが折り返されるようにします。
- #detail .content .link:hover
- 「オンラインストアで見る」リンクのマウスオーバー時の動きを設定します。今回は「opacity: 0.8;」を設定して少しだけ透過させています。(※マウスオーバー時の動作については、仕様書内で特に指示がない場合は0.8や0.7の透過を設定しておくと良いでしょう。)
以上でDetailセクションのコーディングは終了です。
⑥:フッターのコーディング
フッターをコーディングしていきます。
HTML
index.html
<footer id="footer">
<p class="inner">© 2020 PHOTO BOOK</p>
</footer>
footerタグで囲んだ中にpタグでコピーライトを記述します。
コピーライトのマークですが、今回は「©」というコードで記述していますが、文字コードでUTF-8を指定している場合は、文字で入力しても大丈夫です。
CSS
      style.css

  /*-------------------------------------------
  footer
  -------------------------------------------*/
  #footer {
    font-size: 0.625rem;
    padding: 15px 0;
  }
- #footer
- フォントサイズと上下の余白を設定します。
以上で、コーディングは全て終了です。
お疲れ様でした!
現場レベルのスキルを身につけたい方へ
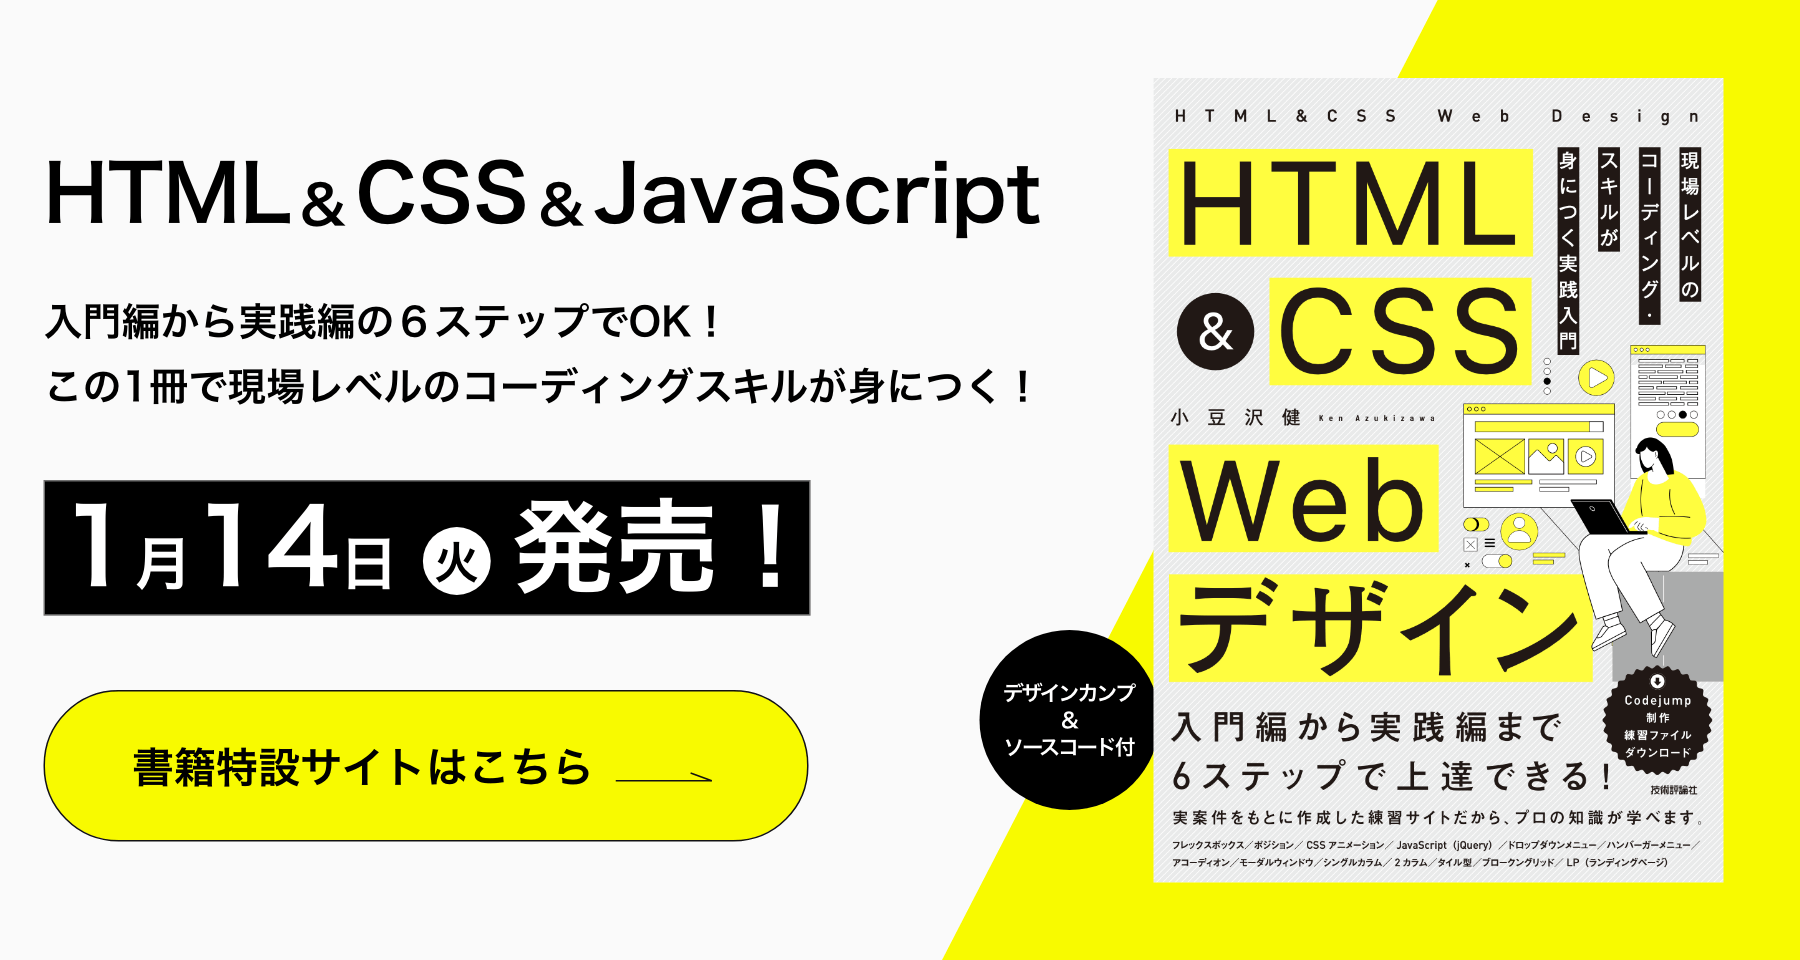
現場レベルのコーディングスキルを身につけたい方は、書籍『HTML&CSS Webデザイン 現場レベルのコーディング・スキルが身につく実践入門』(出版社:技術評論社)がおすすめです。
本書は、入門編から実践編の6つのWebサイト制作を通して、現場で必要なコーディングスキルをステップアップしながら1冊で身につけていきます。
- 第1章【入門編】プロフィールサイト〜フレックスボックス
- 第2章【初級編】ブランドサイト〜ポジション
- 第3章【中級編】サービスサイト〜複数ページ
- 第4章【上級編】カフェサイト〜複数レイアウト
- 第5章【応用編】ランディングページ〜動きのあるWebサイト
- 第6章【実践編】コーポレートサイト〜実務を想定したWebサイト制作
現場レベルのコーディングスキルを身につけたい方は、こちらの書籍を一通り学習した後、Codejumpの練習課題に取り組むと効率良く学習できます。